If you don't know me that well, I like to cook! I'm not a super great cook but I'm prolly better than the average joe. I like to follow good recipes and use my own taste to make them better and it usually turns out pretty well. At the very least my hubby thinks I'm good!
Anyway, one thing I absolutely can't do is bread, which sucks cuz "I LOVE BREAD!" (Name that commercial...?! 😉)

I've tried a lot of times and only been successful once! I can never figure out why. I think part of the reason is my house is usually too cold for it to rise properly. I did make cinnamon rolls once with the Pioneer Woman's recipe and they turned out so deliciously yummy but only once!
My mother on the other hand is both a great cook and a great baker! We were at my grandma's birthday party and she had baked some cinnamon twist thingy's that were SOOO good and since she's also a great teacher, so my cousins and sister had the great idea to ask her to teach us how to make bread! Cinnamon rolls, and now twisty thingy's are a HUGE fav in the Cheney home, so we decided to start with those.

We got out notebooks and started to work!
I decided later that I wanted to make a blog post about it and make it kinda Pioneer Woman style. I LOVE the way she shows pictures of everything so I started taking pics. I didn't get everything I wanted but most of it! So... here goes the recipe and instructions for Carolyn's cinnamon rolls!
P.S. She made everything double, so this recipe is making 2 pans worth.
First thing's first.. Grease your pans! My mother is the ultimate sales person for tinfoil. She puts it on EVERY pan she ever uses. Save yourself a mess and put tinfoil on all your pans.
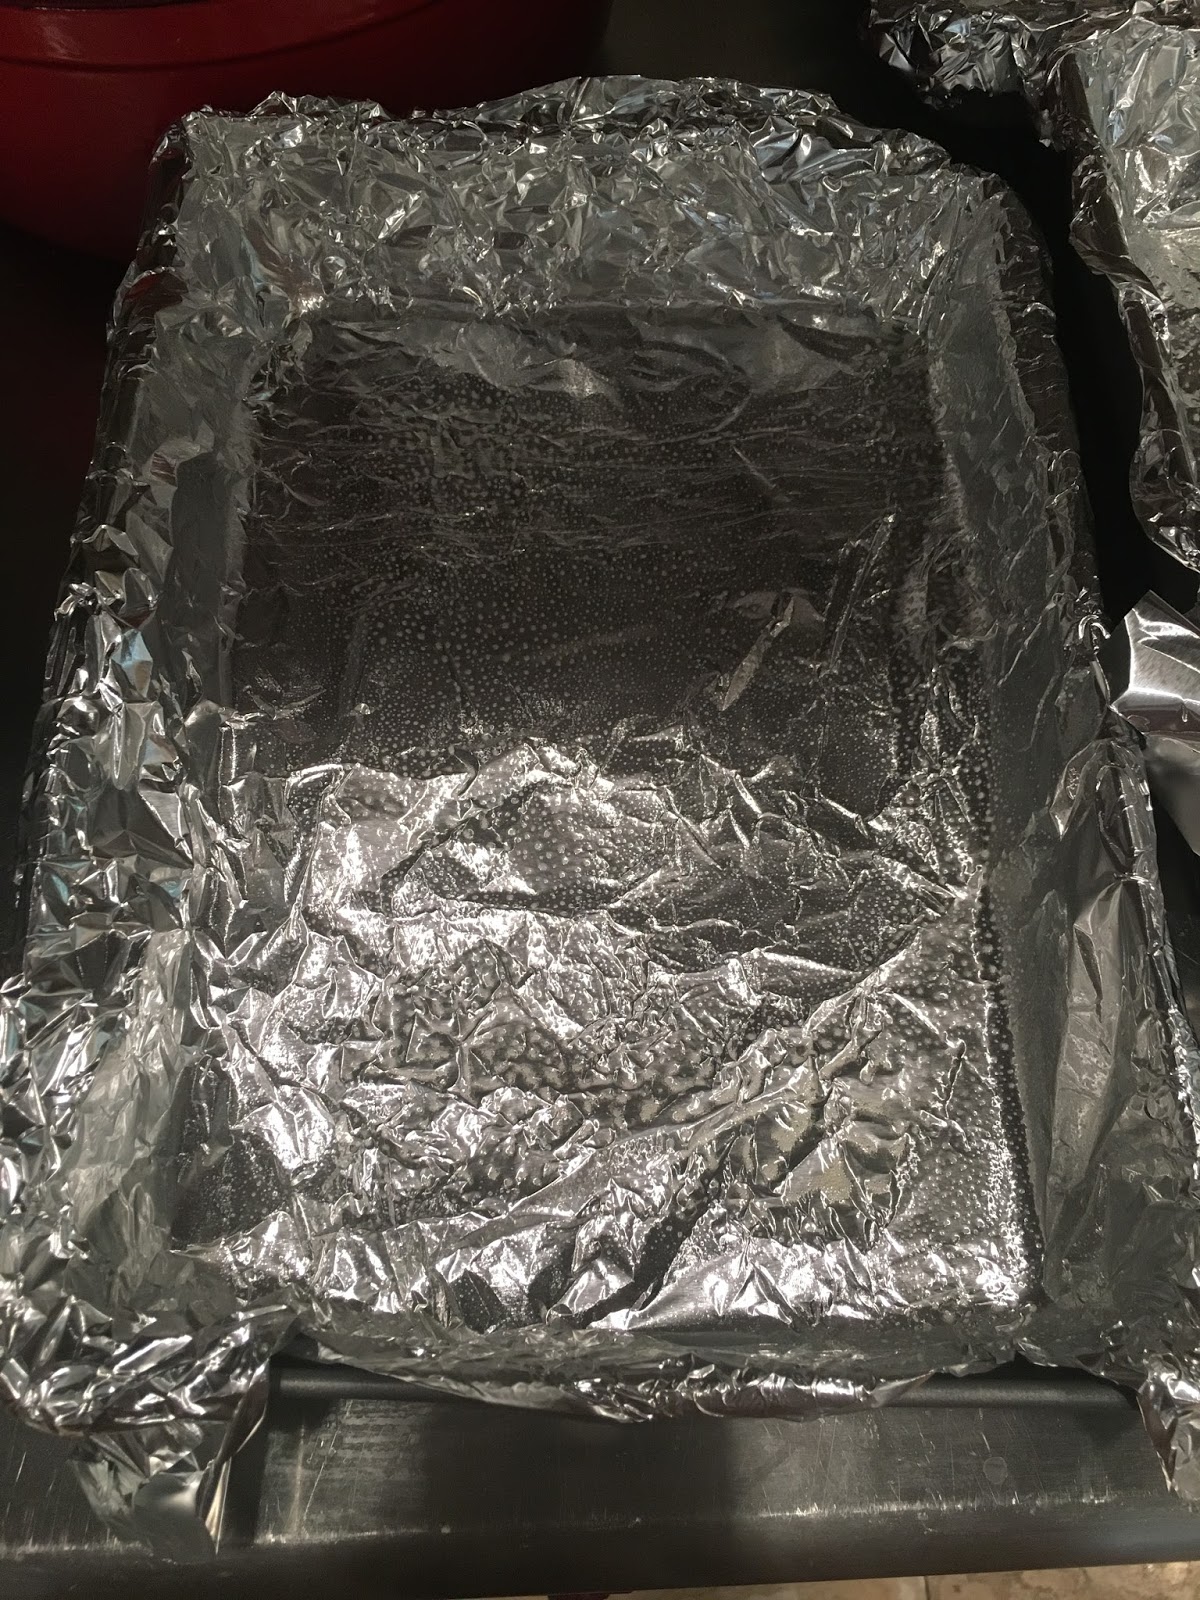
Also, make sure to prepare them before hand cuz if you don't you'll struggle at the end. These are time sensitive things, so you need to have this done first!
Also, preheat your over to 375. :)
Into the bread making itself... Start with 3 cups of milk, and a 1.4 cup of water. Put it into a glass bowl and microwave it till it's hot. Mom checks hers every 20 seconds or so. You want it to get just before boiling. If it's too hot, it will kill your yeast.


Can you see my reflection in the microwave door? I think this is a pretty artsy photo if I do say so myself. ;)

Next is the sugar! Measure out a half a cup and put about 1/4 of that into the milk mixture.

Set aside the rest for later. You'll add it to the flour in just a sec...

Next is the yeast! Mom gets this at costco and stores it in the fridge in a ziplock. She says it will last that way for about a year! You can also use the stuff in the packets but I don't know if it will turn out the same. All the tricks and tips I'm giving are for what works with THIS recipe. So don't get mad if you use a different kind and it doesn't work. :D

So here's the yeast when it first goes in. Mix it a little but don't fuss with it much.
Then watch it grow!!!!

It needs to sit for about 10 minutes so let it be! This was taken after only a couple. If your yeast doesn't start to grow in a few minutes, you know it won't at all. Either your yeast it bad or the milk was too hot, so start over. Don't waste your flour on yeast that isn't growing!
While you wait, get the flour mixture started.

If you don't make a cheesy smile for your annoying sister then it doesn't count.

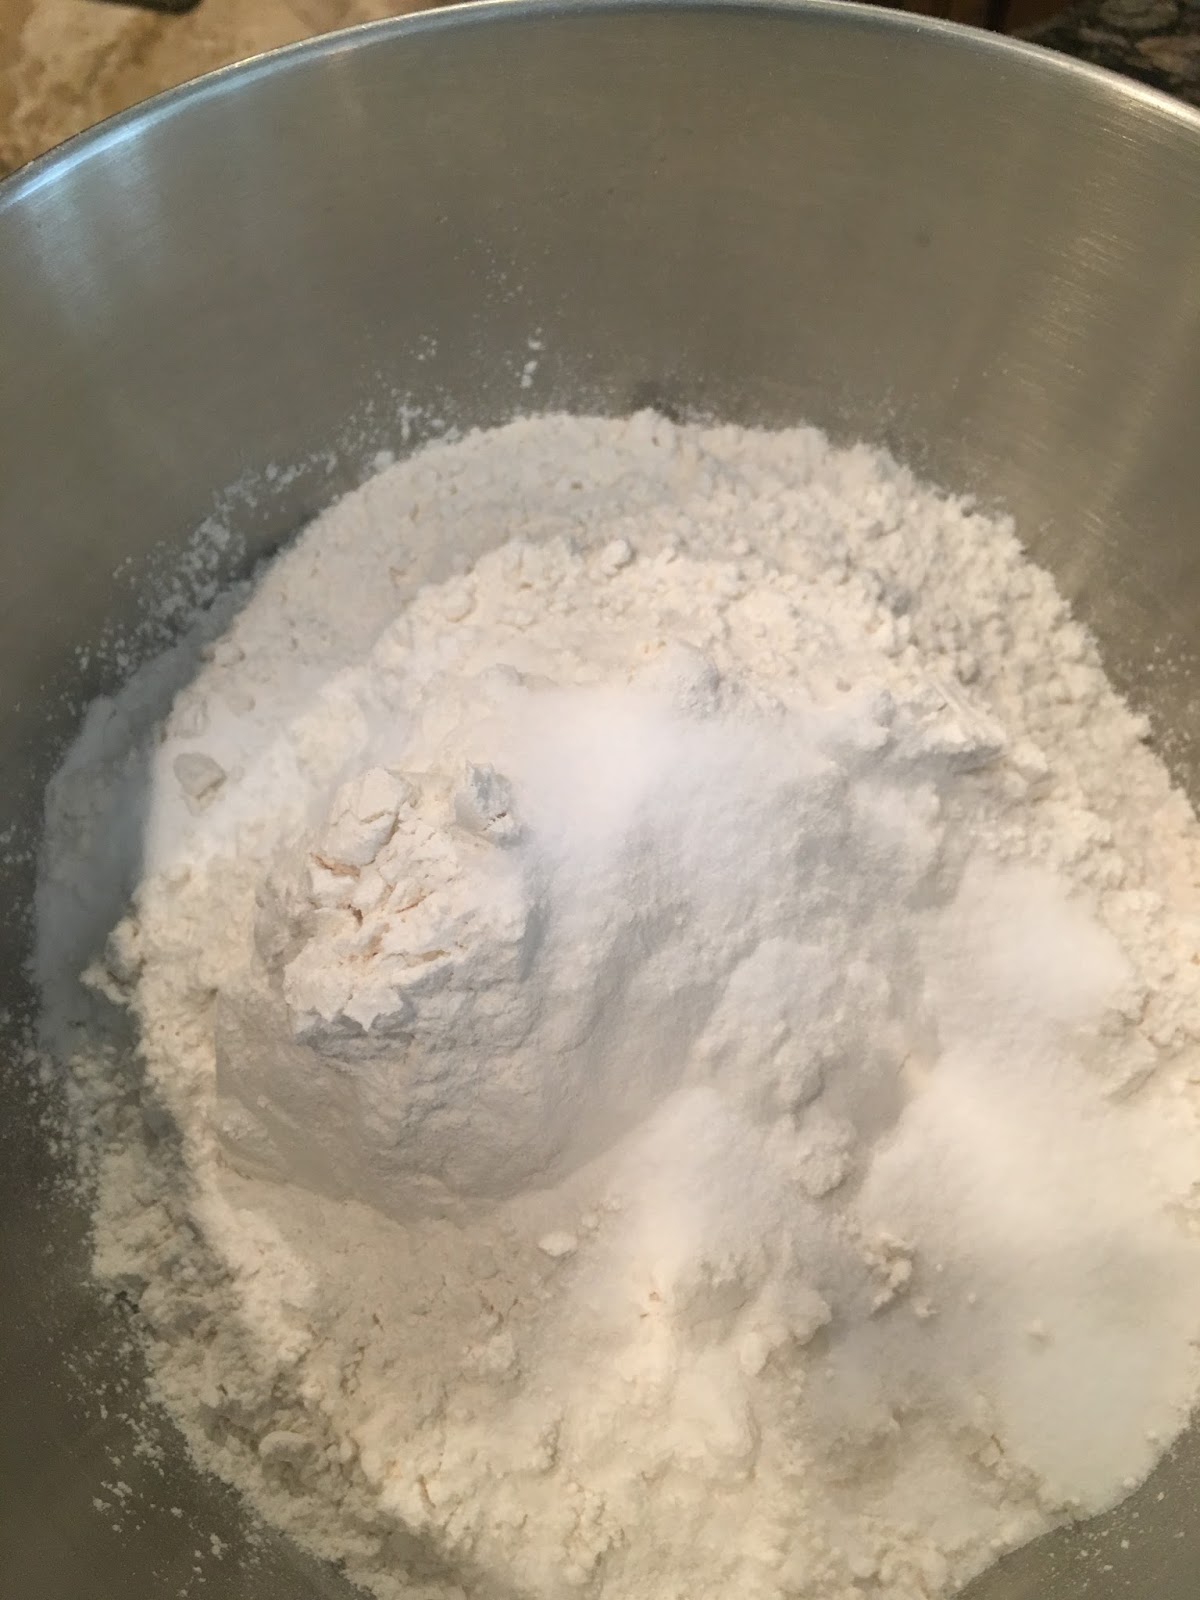
So put 9 cups of flour into your mixer bowl. Add the remaining sugar that you saved and 2 tbsps of salt. Also add 1 tsp of baking soda.
All these ingredients need to be measured very precisely!!! Actually.. someone make some of these and add too much baking soda. Then have someone ready to take a pic of your face when everything looks beautiful and then you taste it and get gross!!!!
Anyway, don't do that. It won't be fun. Or do, just remember the picture and send it me. ;)
Back on track... Mix your ingredients in your mixer and then go check your yeast. It should look like....

THIS! YAY!
Can you see how much the yeast has risen off the top of the milk? Again, if it doesn't look like this, START OVER!! No use making the whole thing only have them not rise and be a gooey doughey dense mess. Not worth it.


Now we're gonna mix a cup or olive oil into the yeast. Mom uses olive oil for everything but I don't think it has to be olive oil for this to work. One thing you could chance and get away with it.

Now put the wet into the dry!

Now here's another trick. Turn the mixer on to the LOWEST setting and mix it for 10 seconds TOPS. Just barely combining. And now leave it for 5-10 minutes. Let it sit and rise some more. You should start to see bubbles popping. This is letting the yeast feed on the new sugar and flour.
DON'T SKIP THIS STEP!!!

Now it's time to mix. Start slow and scrape the sides to make sure it's all getting good and combined.

Baking spatula's work great for this. :)

And make sure to let your baby try. It's so much more fun when the flour gets all over the whole kitchen!!!
(Don't worry, that didn't happen this time. Mostly cuz Ty and Peyton were both asleep. Had they been allowed in the room, there would have been an epic mess.)

Once it's combined, let it knead with your mixer attachment for 3-4 minutes and then let it sit for another 5-10. It should still be rather wet and sticky when you're done.. notice the pic just below....

Definitely still sticking to the sides. DON'T ADD MORE FLOUR! If you've made bread before, you will be tempted to do this. DON'T! it will turn into the doughy perfection you're used to but you have to give it the time.

While you're waiting again, prepare your surface for making the rolls. Mom has beautiful granite countertops so we used cooking spray to coat it and then just a little bit of flour.
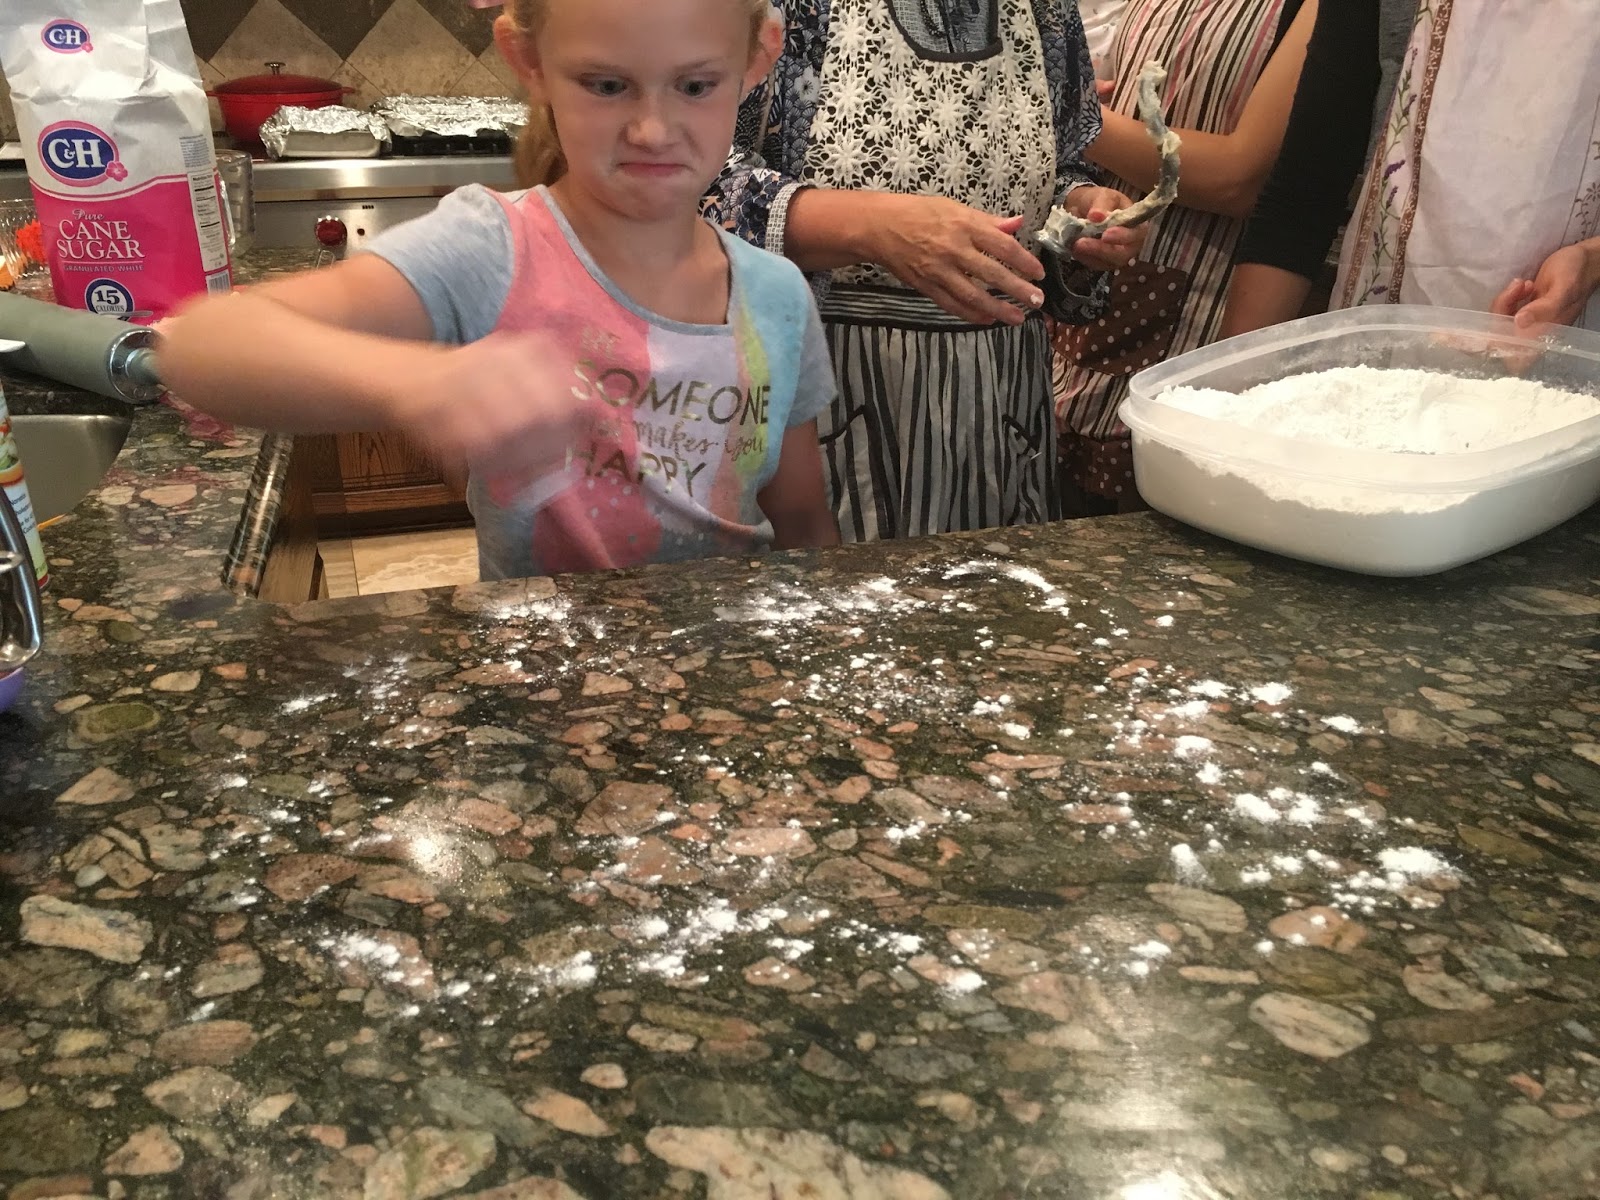
This is another opportunity to use too much flour where you have to really resist.
That's Jayah btw. She's my cousin's daughter and she's awesome. She was so excited and a super great helper. :)

Pour your dough out onto your surface and start to spread it out. Better to use your hands like in the pic below.


You can use a rolling pin but wait till it's mostly done. You don't want to squish it too bad. If you choose to use one, grease it with cooking spray, not flour.
Can you tell you don't want to add more flour to this dough?? I'm told it's one of people's biggest problems with making bread. They think it's too wet so they add more flour. Then it's too dense! So, for the 457th time, don't add more flour.

Now comes the fun part. Soften about 1/2 cup of butter and spread it all over the dough! Make sure it gets almost all the way to the edge.
Another opportunity for an awesome face picture. Actually, this is the way Kristi's face looks most the time. ;)

More fun! Add the sugar!!!! We used a full cup! This can be done to your tastes but if you're eating cinnamon rolls, you might as well have them buttery and sugary. This isn't a time to count calories. :D

I forgot a pic of the cinnamon but you can see it in the pic below. You can use cinnamon sugar that was prepared ahead of time for the perfect ratio if that's your thing. We didn't cuz we didn't. No other reason.

Now it's time to roll! Start at one end and do the best you can to make it as tight as you can. They'll cut better and stay together better if you do.
Another photography tip, make sure to cut off your subjects head so people know it's all about the food, not the people. Plus when you get the faces, it usually looks like it did in the butter picture, and we want to minimize this. ;)

When you get to the end, pull the last little bit on top of the roll and kinda pinch it together.


Then eat the dough. See what I mean about the face thing?!

Next you're gonna cut them into sections that are 3/4 to an inch wide. Be careful when you're cutting to not smash the dough. Use a sharp knife and let it do it's thing.

You can fit about 12 in a pan.
Don't force them to fit tho! If there's too many, they won't cook right.

Another fun trick from the master... Once the pans are full, they need to rise again. Place them on a towel on your counter and cover with a greased piece of tinfoil on top. The towel underneath keeps them warm and the greased tinfoil does the same AND makes it so they don't stick to the cover. If you cover with a towel it can interfere with the rising process if it's too heavy or not perfectly clean.


Now we're gonna let them rise AGAIN for 30 min!!! They'll almost double in size before they're done..

They'll look like this when they go in to the oven! But we're gonna leave them covered for the first 25 minutes. Then we take the cover off and brown the tops for 5 minutes.

Another hint... if you take the cover off and they still look glossy and doughy and bubbly, they're NOT DONE!
BTW... I SO wish I could have taken a picture of how amazing they SMELL!!!! Seriously. It was amazing. They smelled like heaven. I'm pretty sure when I reach the pearly gates it's gonna smell like cinnamon rolls.

Now we make frosting... (1 cup softened butter, 2 bags powdered sugar, 2 tbsp vanilla. Whip for longer than you think and add about 1.2 cup of milk as you go to make the right consistency. These like a little more liquidy frosting.)

Spread it on the rolls and then make this face when you eat them...

See what I mean about the faces...?!
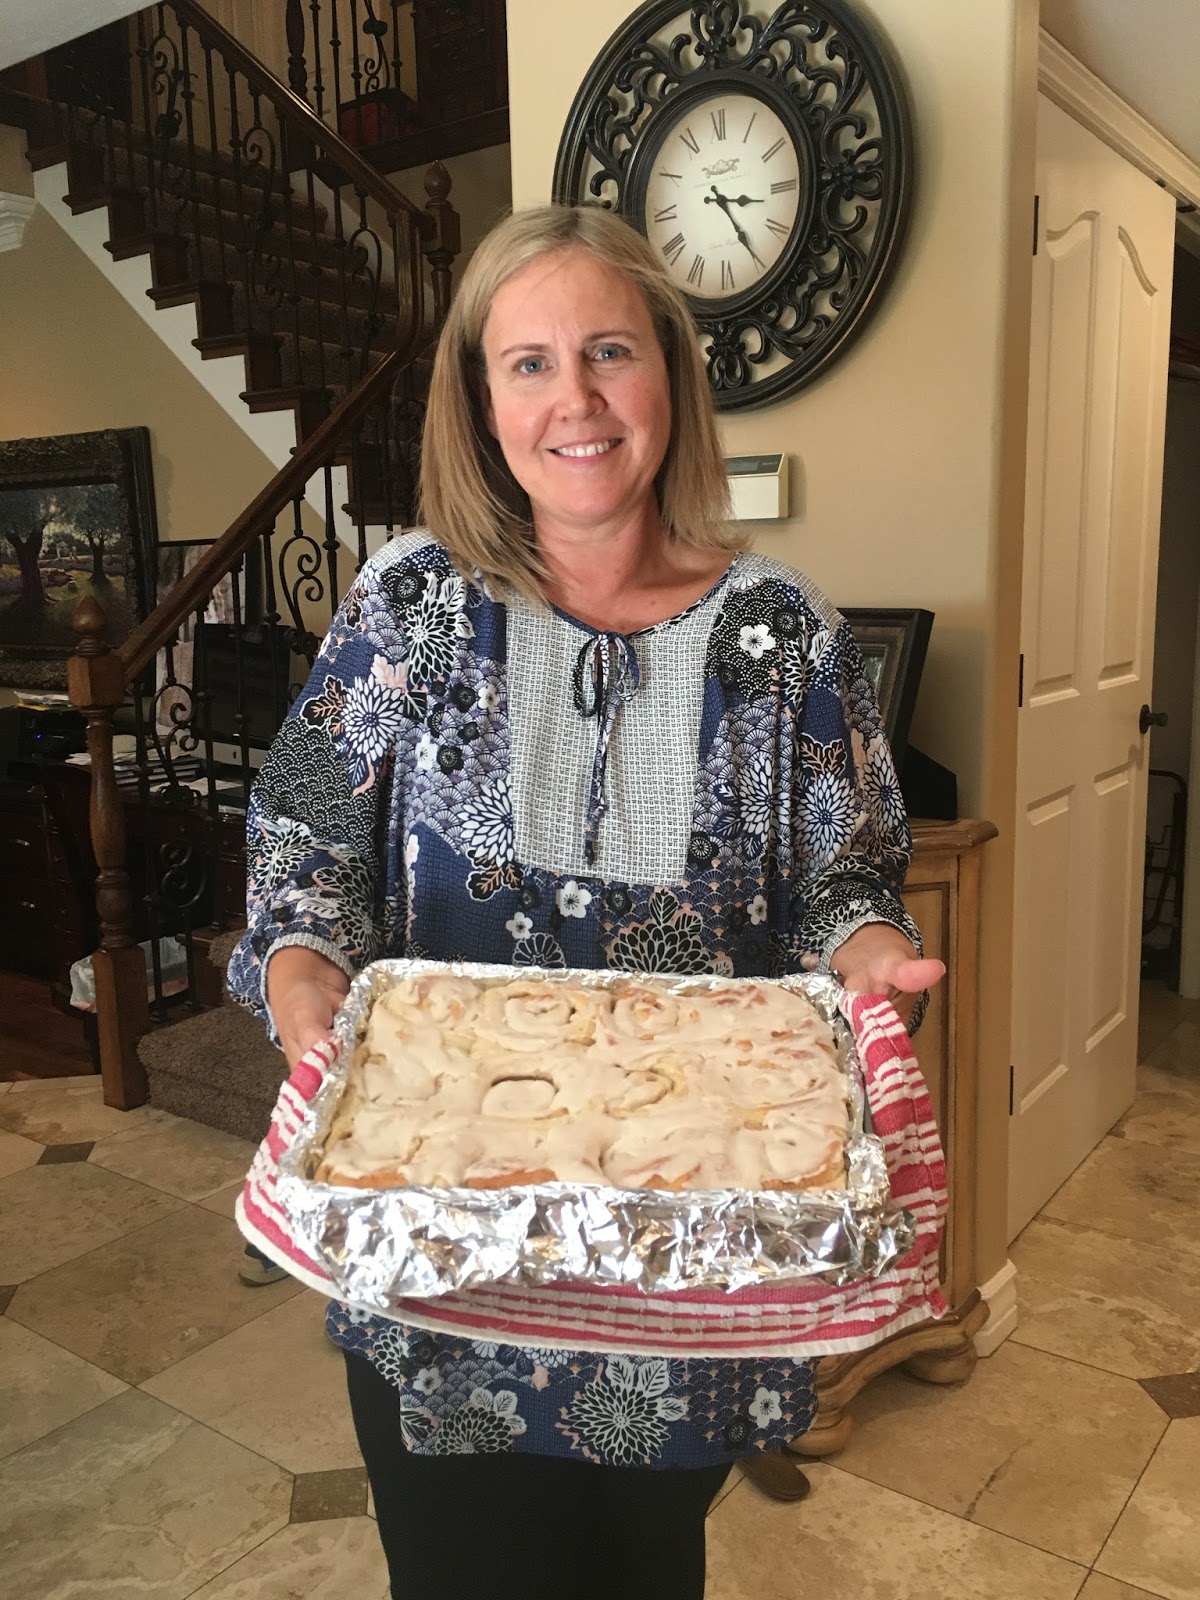
LOOK AT MY BEAUTIFUL MOTHER!!!! She's amazing and I'm SO lucky to have her. I feel like I say that a lot on this blog and I totally mean it. She's the absolute best.
THANK YOU MOM!!!
Here's the ingredients in an easier format...
3 cups milk
1/2 water
1 cup oil
1/2 cup sugar
4 tbsp yeast
9 cups flour
1 tsp baking soda
2 tbsp salt
1 cup butter
1 cup sugar
few tsp of cinnamon
Comments
Post a Comment